AI tutorial
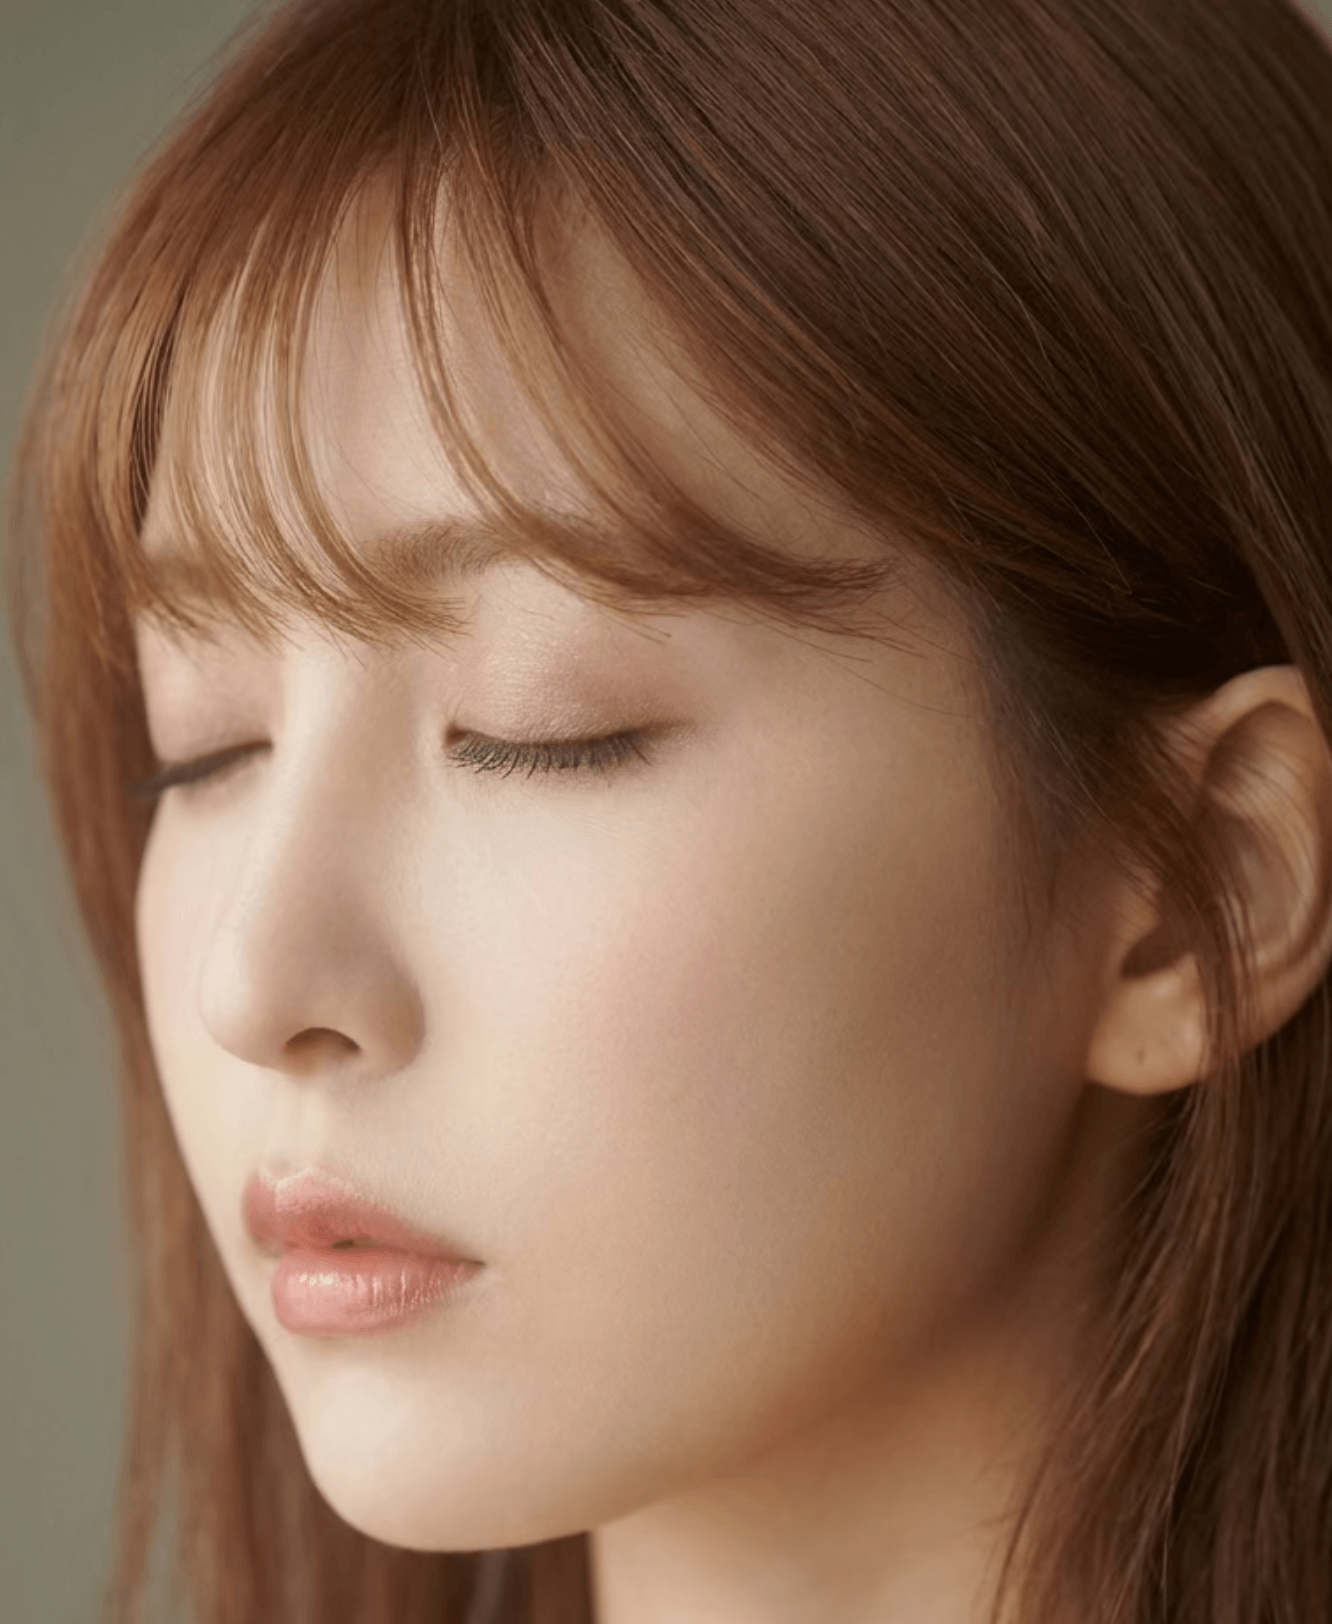
AI Portrait Images: Boost Quality and Refine Skin Texture
LimaxAI Team • • 3 min read
This article covers AI tutorials, LimaxAI, AI tools, and AI video/image workflows—how to improve portrait quality and skin texture with AI, using actionable steps and prompt patterns.
Keywords: AI tutorial, LimaxAI, AI tools, AI video.
Published: 2026-04-01
1. Common quality issues
- Compression and noise: Upscaling small images or low-light shots can look smeared.
- Skin tone and texture: Over-blurring looks plastic; commercial work needs natural detail.
- Light structure: Without rim or catchlights, faces can look flat.
2. Prompt structure
Use subject + skin keywords + lighting + lens look + quality. Example:
Portrait photography, natural skin texture, soft subsurface scattering, realistic pores, gentle rim light, 85mm lens look, ultra sharp eyes, high dynamic range, editorial retouching style| Goal | Emphasis | Note |
|---|---|---|
| Sharpness | sharp focus, micro-detail, crisp eyes | Avoid mixing with heavy blur |
| Natural skin | natural skin, subtle texture, not plastic | Reduce conflicting “over-smooth” terms |
| Commercial | clean color grading, studio lighting | Lock lighting words for batch consistency |
3. Workflow
- Define the use case: avatar, e-commerce hero, poster, or video thumbnail—aspect and style differ.
- Iterate in steps: medium-res tests first, then push detail or resolution.
- Series consistency: keep a fixed set of skin and light keywords across one project.
4. Conclusion
Combine skin description + lighting + lens language in prompts and iterate on LimaxAI for reliable portrait upgrades.